

The DIY Roof Inspection
Your roof is exposed to scorching sun, high winds, driving rains and heavy snowfalls, which makes it one of home’s toughest-working systems. All that contact with Mother Nature can wreak havoc on the surface and interior structures, so a regular inspection is essential to its longevity. Read on for a three-part plan that will help you identify problems and potential solutions.
1. Inspect the exterior. On a warm, dry day, inspect your entire roof for loose tiles, warped shingles and detached flashing. On some roofs, you can see a lot by using a pair of binoculars. Experienced roof workers can also climb on the roof to inspect the surface. Be sure to recruit a family member or neighbor to be your spotter and ensure that you get up and down safely.
Solution: If you do find damage, make plans to replace the shingles and reattach flashing. You should also call in a roofing professional to do a more thorough roof inspection. Some roofing companies will perform the inspection for free, while others may charge around $200.
2. Inspect the interior attic space. Look for damaged wood and any indications of water penetration. The presence of mold can indicate poor ventilation; wet building materials; or an improperly vented bathroom, kitchen, and dryer exhaust. Mold growth in attics cause potentially hazardous living conditions, not to mention property depreciation and or structural damage.
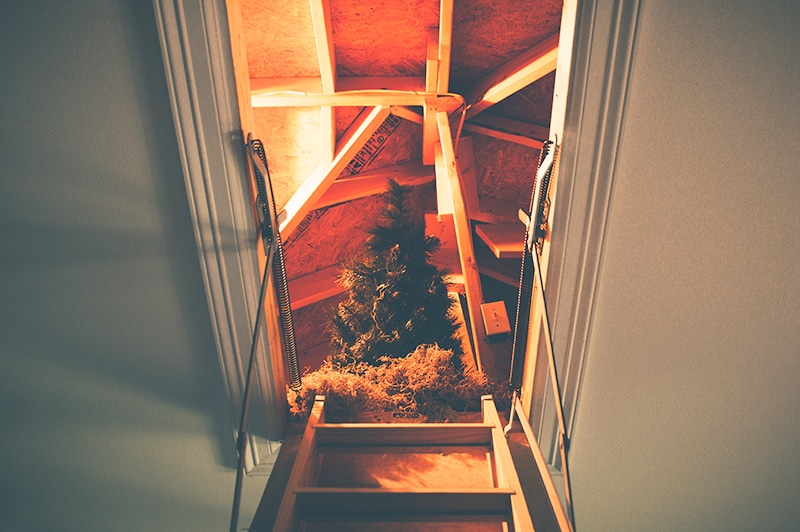
Leaks are hard to spot from the outside. It's better to look for water damage in the attic.
Solution: If you find moisture issues in your attic, it’s best to call in the professionals. A roofing contractor can repair leaks or make recommendations for a roof replacement, if necessary. You can sometimes reverse mold issues by clearing out the affected insulation that is blocking soffit vents. Other times, an electric attic fan and humidistat is necessary. A pro can also seal wire holes, light, or pipe penetrations, or redirect exhaust vents.
3. Look for moss. Moss thrives on roofs that face north and areas that see little sun. The presence of moss will dramatically reduce the lifespan of your roof because it traps moisture and holds it in place. Wet shingles are prone to rot, and the excess moisture will promote more damage in freeze/thaw conditions.
Solution: Using a pressure washer to clean off moss is not recommended because the high-powered stream will force water beneath your shingles, potentially causing more long-term water damage. Instead, start by brushing off the majority of the moss with a large broom. Then apply a moss remover specifically formulated for roofs. Call in a moss removal specialist for the safest and quickest removal. If you decide to do it yourself, call in a friend to be your safety spotter.
4. Check and clean your gutters. On a warm day, inspect your gutters for blockage. A blocked gutter can force water back up and into your roof. You also want to also want to look for any cracks, holes and sags.
Solution: Using your gloved hand, clean out gutters by scooping out the debris into a trashcan. You can follow up the cleaning by rinsing the interior of the gutter with the hose. Use gutter repair compound to fix any cracks and holes. For sagging gutters, add or replace gutter hangers in the areas that need it.
Happy inspecting and always remember to use a spotter when doing any kind of roof work.