


Portsmouth Addition and Remodel
The Portsmouth Project is an addition and renovation. The existing living room will be extended out, gaining about 300 sq. ft. in total. We then will partition the new space into a new living room, master bedroom and master bathroom. Also, the existing kitchen will be remodeled with new cabinets, counters, appliances and flooring. The customer also opted to have their water heater upgraded to a tank-less water heater. This was a good option as it is much more efficient, saves energy on their bill as well as earns energy credits with the city for the CA Title 24 energy calculations.
DETAILS
- Client: Wendy H.
- Location: West Sacramento
- Surface Area: 800sq. ft.
- Year: 2019
- Scope: Addition and Renovation
- Architect: Joe Hartigan
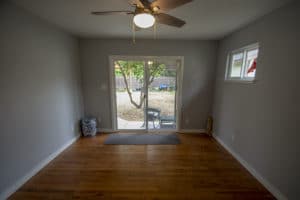
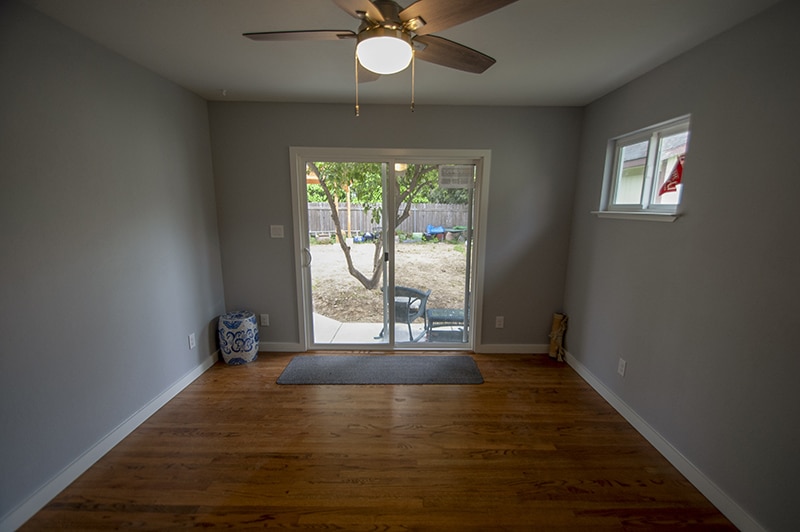
Before
The existing living/dining areas were about 10 ft. x 20 ft. The kitchen and room areas are all original and have never been remodeled.
-
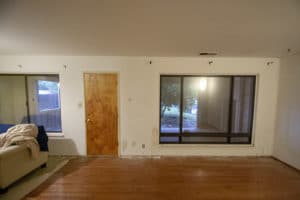

- Living Room

-
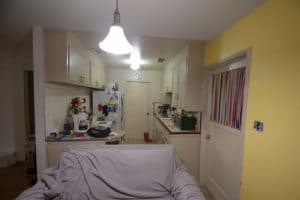
- Kitchen

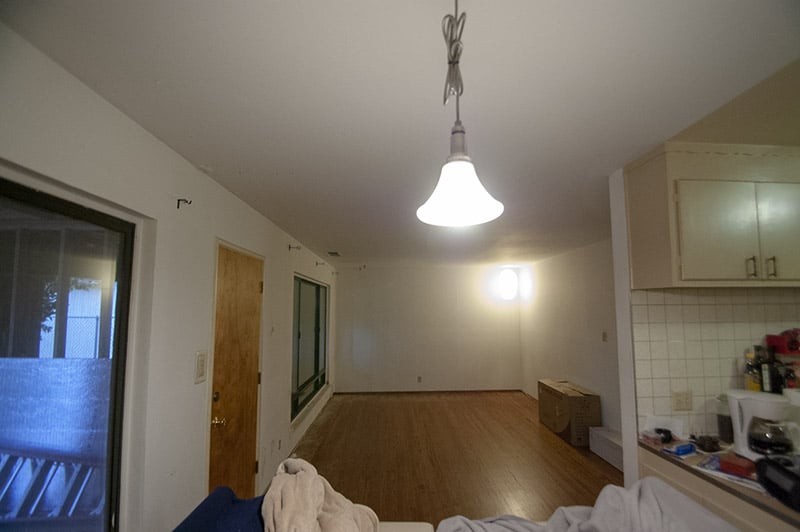
-

- Standing in the dining room
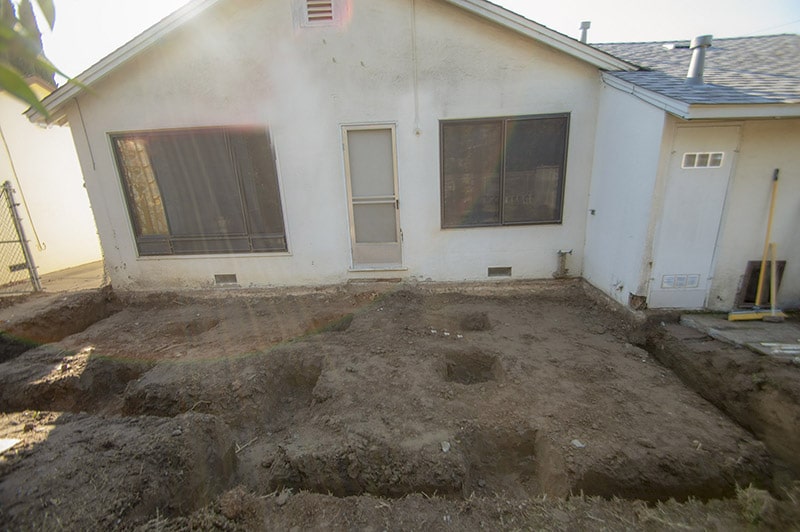
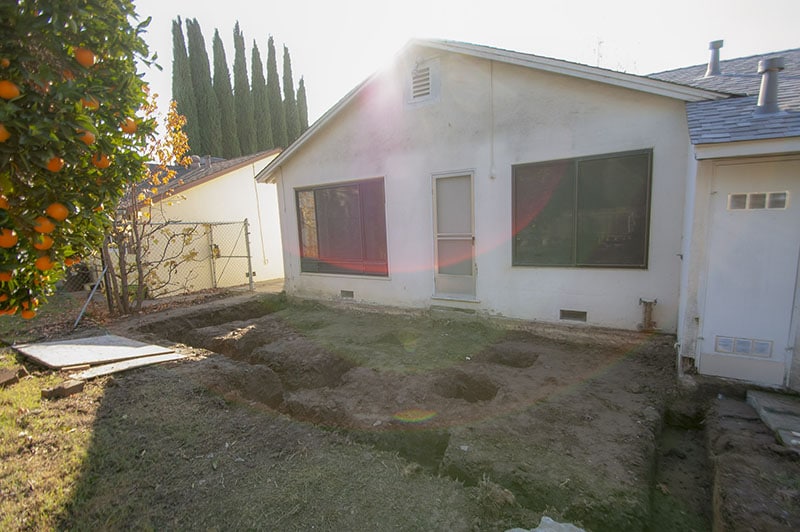
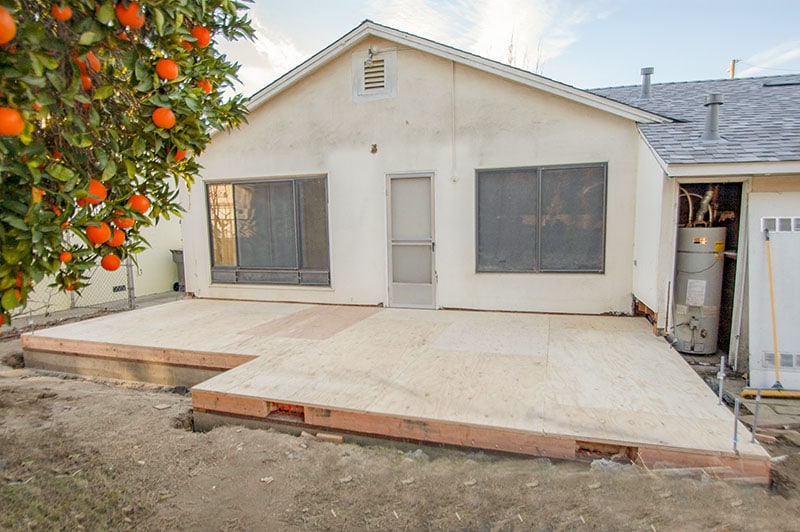
Dirtwork
The first phase of a project like this is to get all the digging and excavation done. We typically like to get all the outside work done first allowing the client to have the max time possible to prepare for when the walls come down. This addition will be a raise floor foundation so we had to dig a perimeter foot as well as remove about 6 inch of dirt in order get enough clearance under the floor framing.


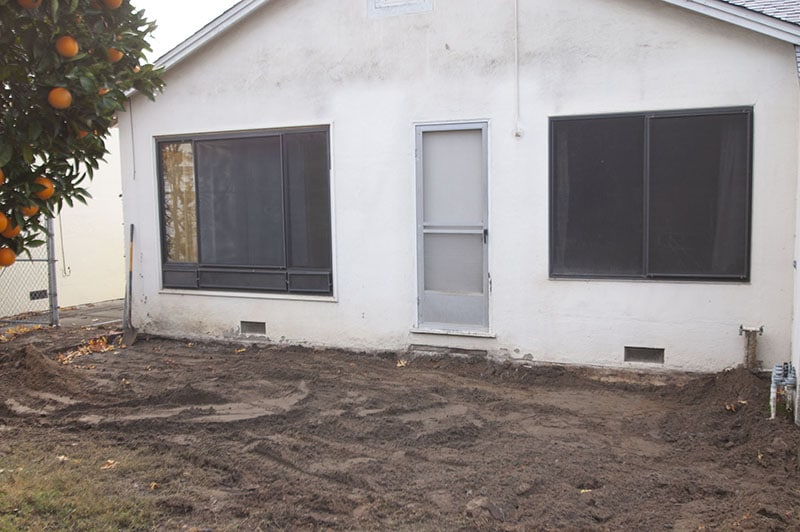

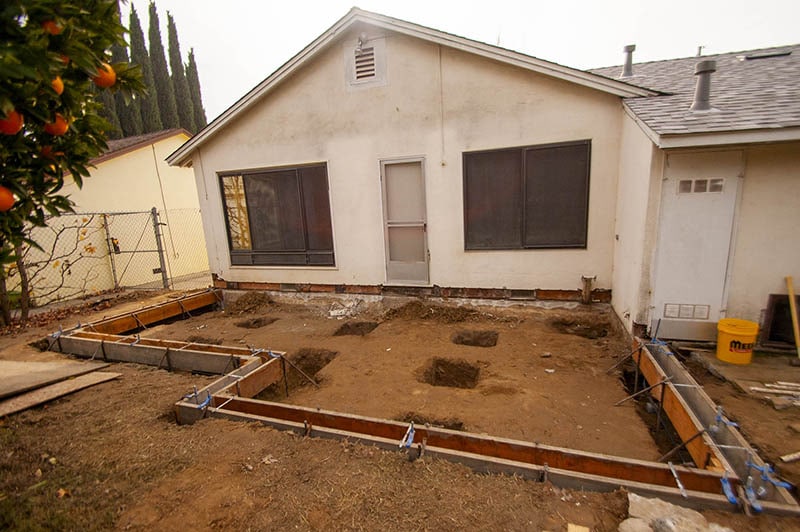
Next we form up the foundation, pour the concrete and let cure. Notice how high the soil is around the outside of the forms. Too much dirt has been brought in in the past and we will have to regrade the area.


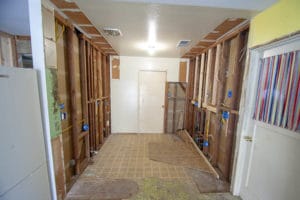
Demo
The demo was pretty easy on this project. We had one exterior wall to remove and we had to demo the kitchen. The wall would have to wait until the trusses were installed because the existing ceiling joists, which were currently sitting on the wall, now must hang from the new girder truss.
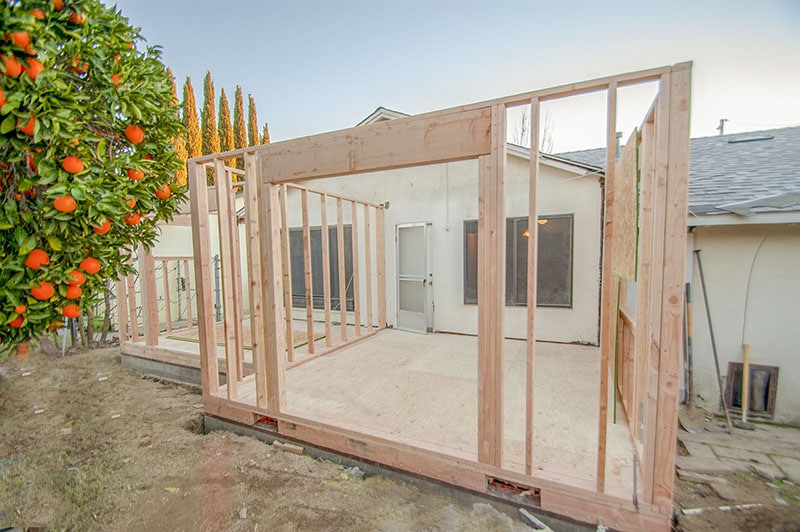
Frame
This frame is a raised floor with 6x6 girders and 1 1/8 in. plywood sub-floor. The shear is done in a continuous-structural-panel, simplifying the engineering and leading to a stringer structure and a better thermal barrier.
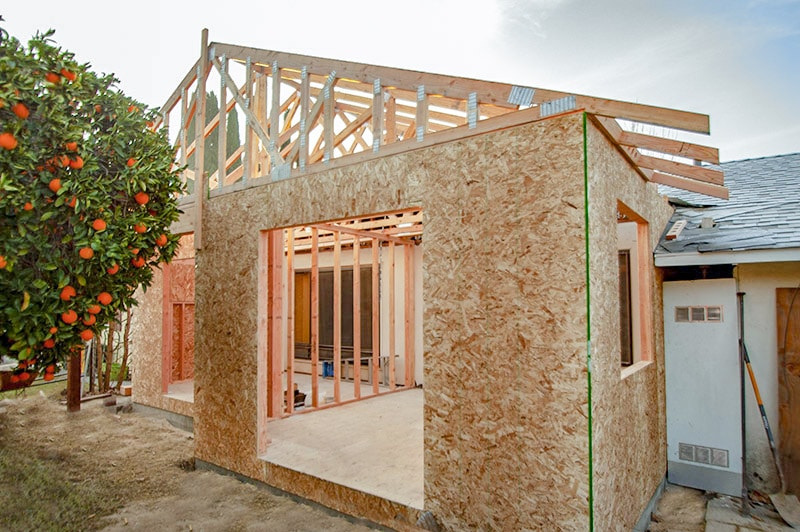
Frame Across The Board
Now that we have the frame and shear up, we need to get it waterproof. This means getting the roof on and getting the stucco lath on. Then we will get our rough plumbing, electrical and mechanic signed off so we can insulate and close it up.

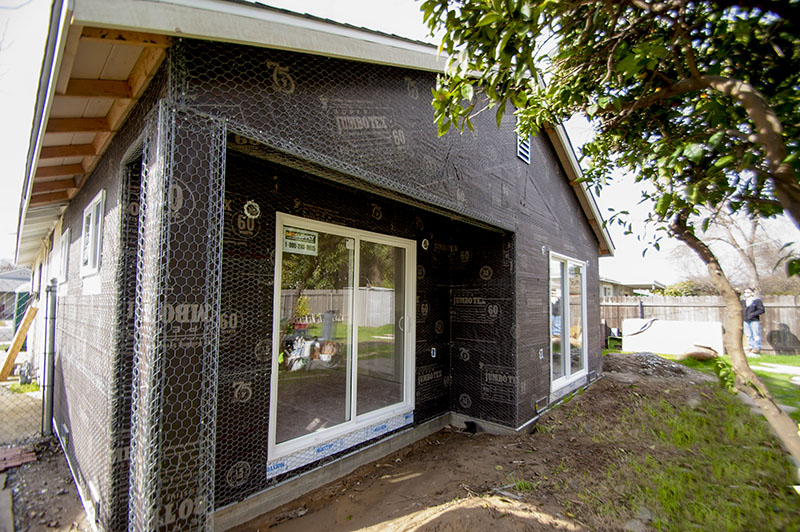
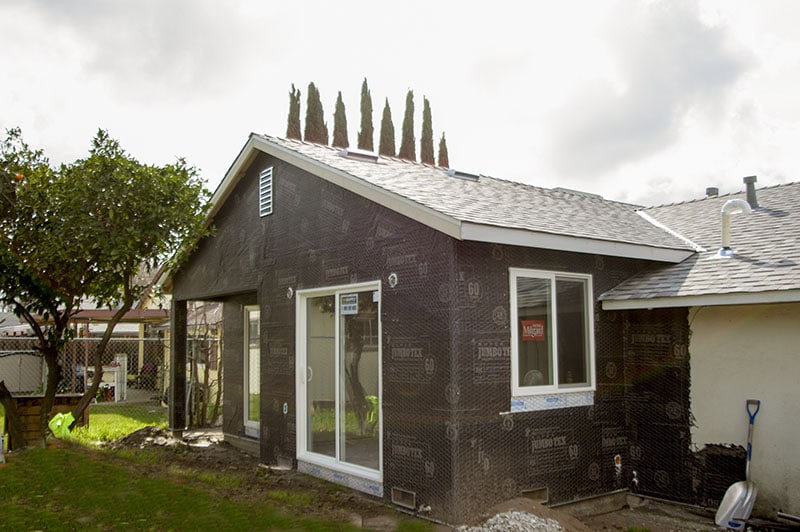
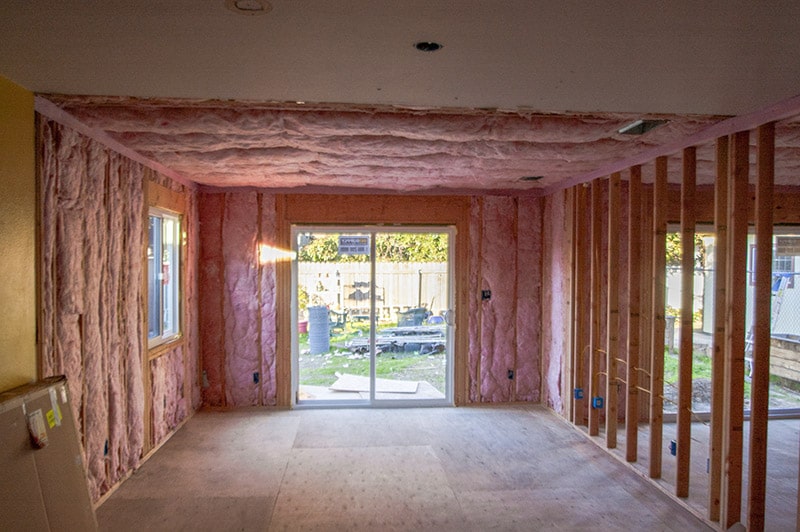
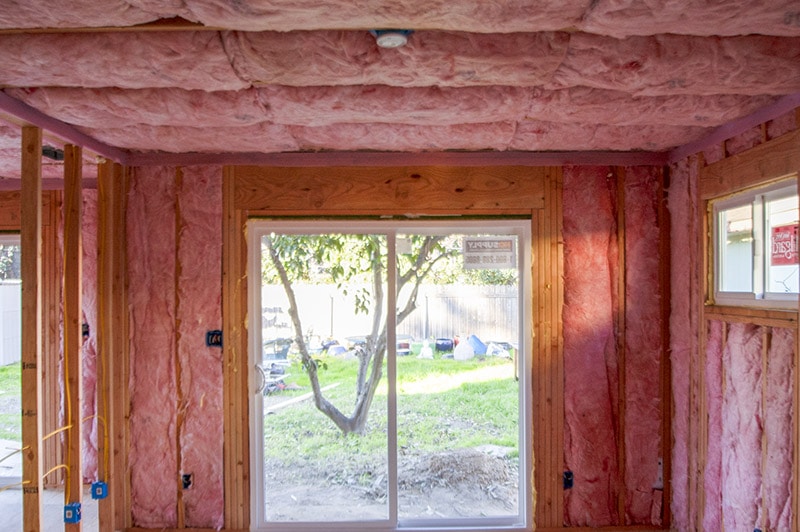
The standard insulation for CA is now R-38 in the ceiling and R-15 in the walls. Depending on how your Title 24 Calcs are done, it may be required to bring the wall insulation up to a R-19 equivalent. When this is required we use an R-4 foam board under the stucco. For this house we were able to stay with R-19 and a standard 3-coat stucco. This was because the owners upgraded their water heater to a tank-less, which gave them the necessary energy credits to stay with R-15 walls.
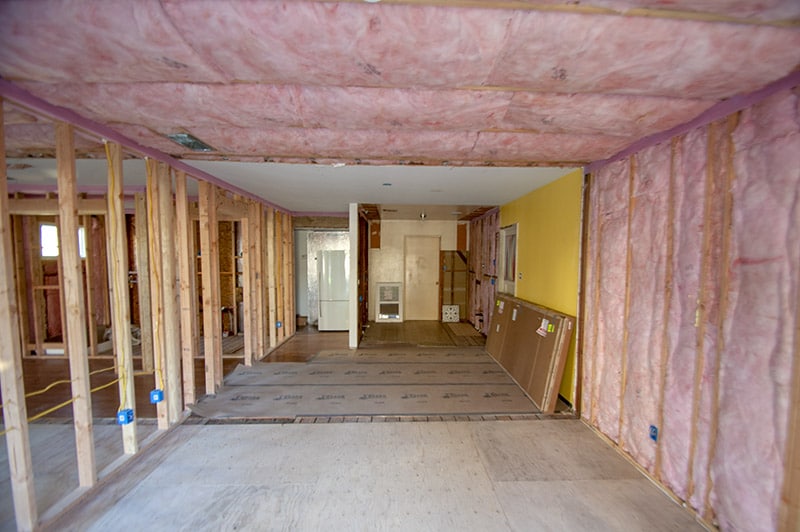
Interior
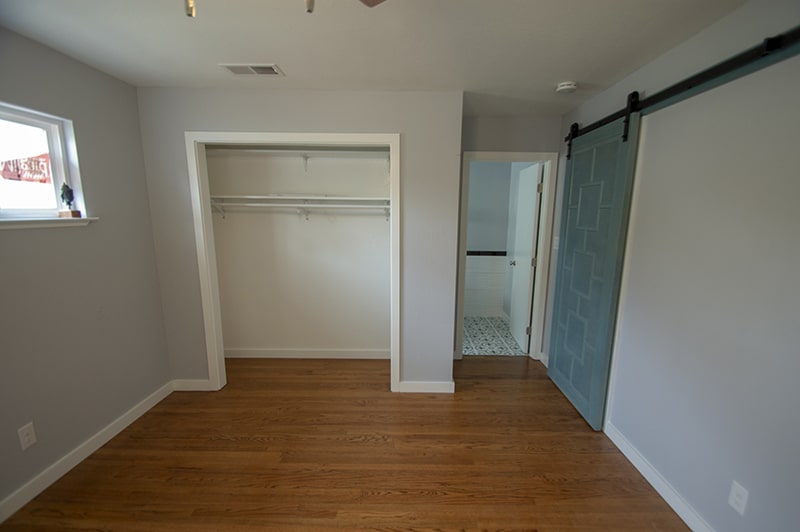
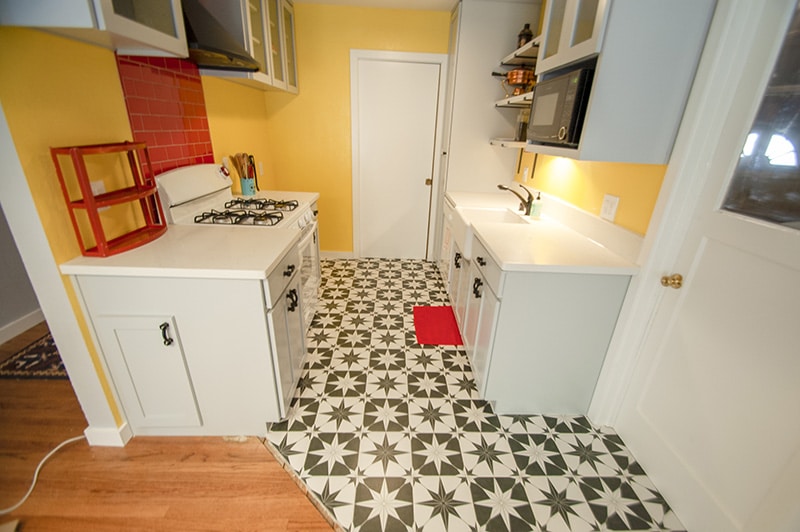
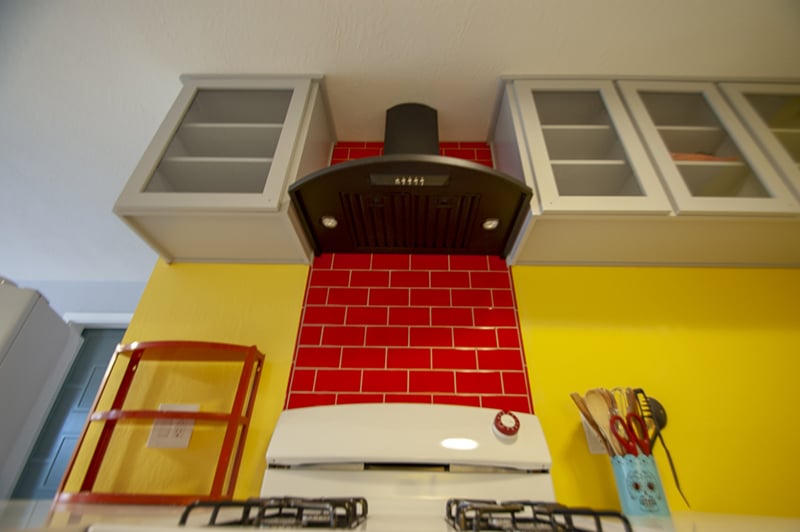
In the main living room area we added on about 12 feet, then partitioned off the new space to create a new living room along with a new master bedroom and bathroom. The kitchen area we left alone, but we installed new floors, cabinets and appliances. The girls wanted to go for a 50's style look, very bright and happy, perfectly suited to their personality.
New Master
-

- New Master Bedroom

-
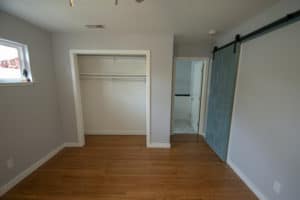
- With Master Bathroom
-

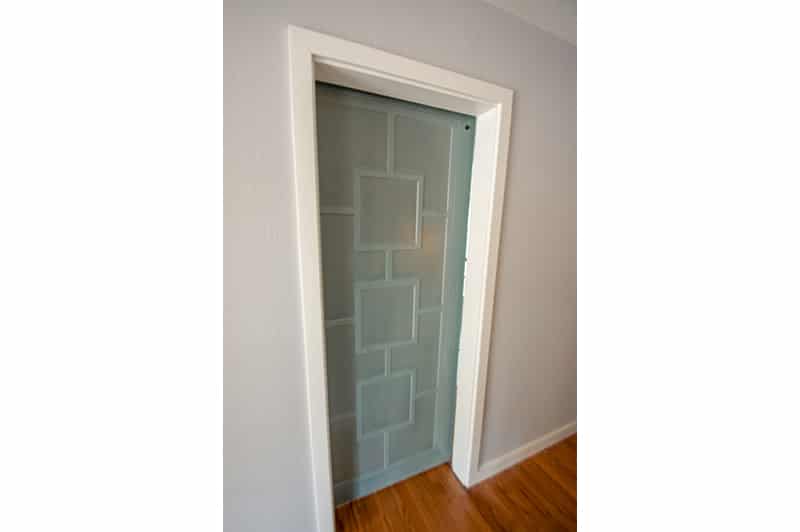
- Master Barn Door
-
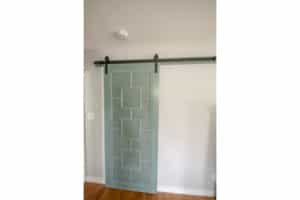
- Beautiful Blue Barn Door

-

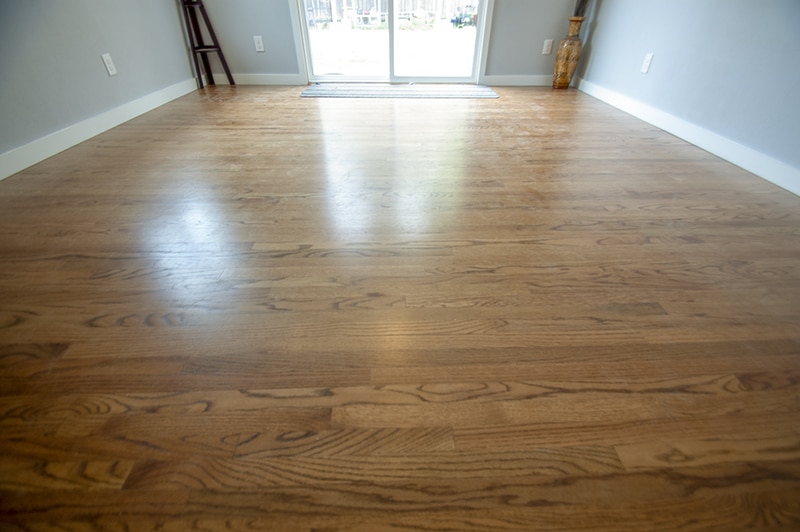
- New Hardwood Floor Throughout
-
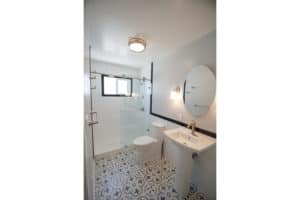
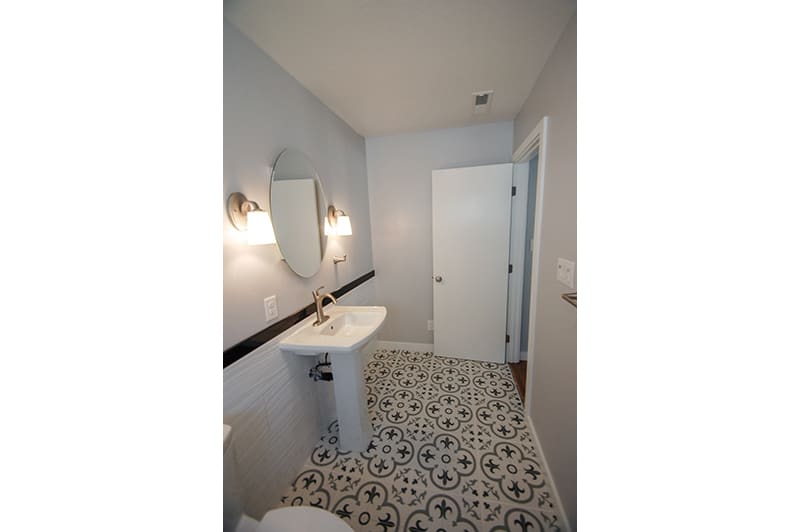
- New Master Bath

-
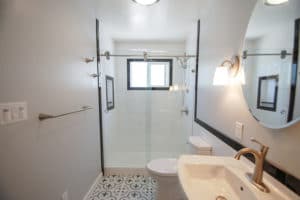
- Frameless Shower Door

-
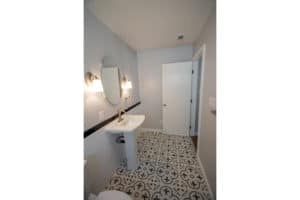
- Open Pedestal Sink
-
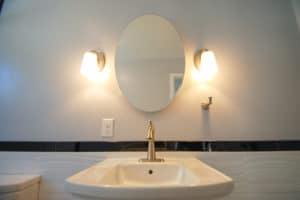
- Oval Medicine Cabinet/Mirror

Living Room and Kitchen
-
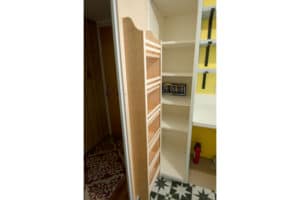
- Plenty Of Storage

-

- 8 Foot Pantry Door

-
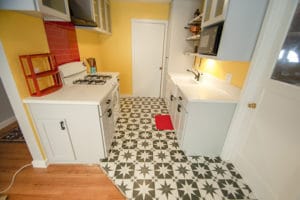
- Original Space And Design With New Appliances
-
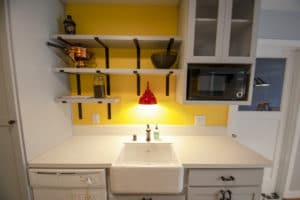
- New Shelves And Less Uppers

-
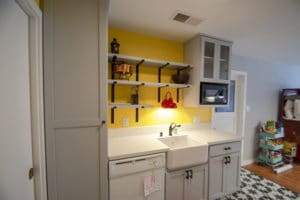
- Deep Barn Sink and Microwave Slot

-

- 50’s Colors With High Glass Uppers
-
- New Living Area
-

- Living Room Floor matched to Existing. Can You See The Transistion?

-

- Barn Door To Master Bedroom

Outside
The outside was just recent graded and we poured concrete around the perimeter. We used a standard 3 coat stucco and painted to whole house to get a flawless match. Typically we use foam on the outside wall with a 3/8" stucco, but this time we opted to accrue Green Credits with a QII inspection instead. If you want to learn more about QII check out our recent blog about it.
-
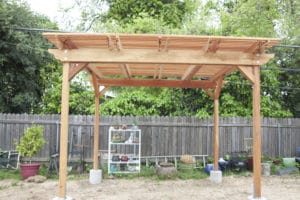
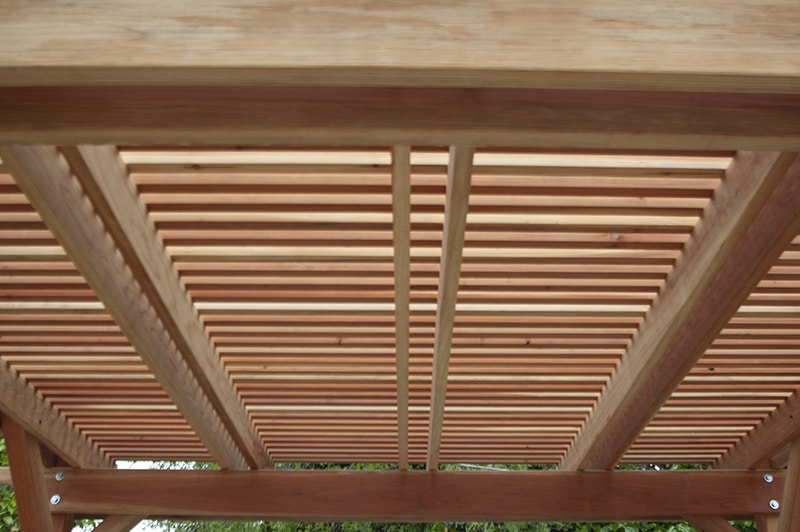
- New Pergola In The Backyard

-
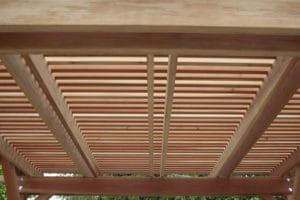
- 2×2 Slats With Double 2×6 Joists
-
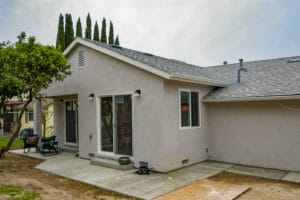
- Finished Addition
-
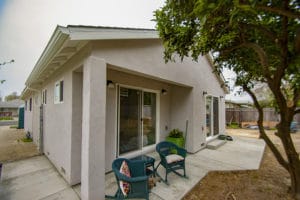
- New Patio Area

We are finally finished with this job and really happy about how great it turned out. Enjoy your new home!